Visco-Supplementation is a very effective treatment if diagnosed well on time. The injection process is very simple & painless, if given by a specialized doctor, it will ensure that the injection of BIOVISC Ortho Single or HYNEES will provide you a lasting relief from joint pain, besides offering you support to get back to your normal day to day routines in the shortest period of time.
After Injection: Please bear in mind that following an injection of BIOVISC Ortho Single or HYNEES, please take life a little easy for 2 days, before getting back to your daily routines. You will notice relief from the 2nd week onwards, following which you can continue with your regular physical activities as earlier, without discomfort.
Post Injection Discomfort: BIOVISC Ortho Single & HYNEES are both very high quality products. The optimum volume & Non Animal source ensure that there are no tolerance issues unlike other available product with may me of volume as high as 6 ml & from animal source.
If given by a specialized doctor with due care, the chances of any discomfort after an injection of BIOVISC Ortho Single or HYNEES are negligible. However in the unlikely event of any discomfort or pain at the injection site, the doctor may advise you ‘Cold-Fermentation’ or some oral pain killer like: Paracetamol, Ibuprofen or Diclofenac etc, depending upon your individual tolerance & suitability, to relieve your discomfort. Please do not get alarmed as the pain usually subsides within 2-3 days. Place share your situation with your treating doctor who will advise you best on handling your discomfort. Under any situation, please do not indulge in ‘Self-Medication’ as it can be both dangerous & life threatening.
The Injection Process:
The injection of BIOVISC Ortho Single or HYNEES is a very simple but a scientific OPD procedure & does not require any hospitalization. A qualified Orthopedician, who has been doing ‘Visco-Supplementation’, will be able to inject the product smoothly & without any discomfort.
The product is injected as follows:
 |
Step-1: The Doctor will recommend for an X-Ray to evaluate the condition of your Knee Joint. |
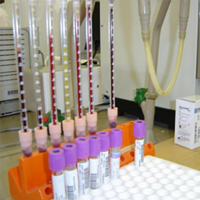 |
Step-2: If Found suitable he will evaluate your suitability by recommending a few basic blood tests to rule out diabetes or see its control. |
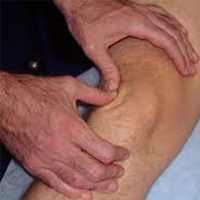 |
Step-3: The Knee is given a Physical Examination |
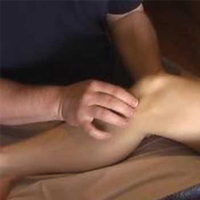 |
Step-4: The condition of your knee & pain factor is evaluated by the doctor. |
 |
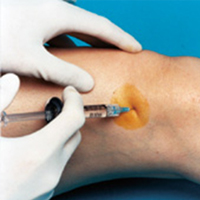
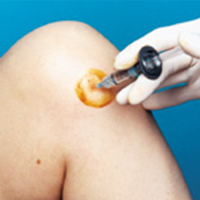
Step-5: The knee joint is painted with antiseptic like ‘Betadine’ to prevent any chance of infection. |
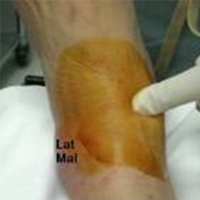 |
Step-6: The doctor will explore the best suitable site for injecting the product. |
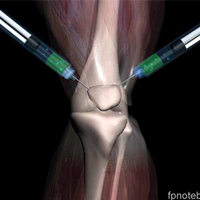 |
Step-7: The injection can be given from both the medial or lateral sides.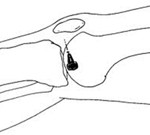 Objective-1: The objective of the doctor is to place the injection needle under the ‘PATELLA’ suitably. Objective-1: The objective of the doctor is to place the injection needle under the ‘PATELLA’ suitably.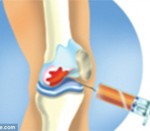 Objective-2: The Injection has to be released in the ‘Intra-Articular Space’ for best effect. Objective-2: The Injection has to be released in the ‘Intra-Articular Space’ for best effect. |
 |
Step-8: The injection is placed in the joint suitably. |
 |
Step-9: The knee is kept at a suitable angle & the injection implanted inside the knee joint. |
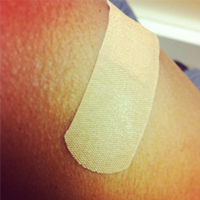 |
Step-10: The doctor will fix a ‘Band Aid’ after the injection. |